Hi everyone, I hope you all are safe and
well. In this video I'll be showing you how to make a cute needle felted
Pusheen in a donut! This tutorial is medium difficulty and it took me around
6-7 hours to finish.
I love the sounds of needle felting so I
kept this tutorial as ASMR, but you might hear a bit of background noises too,
like the birds chipping and the construction works.
Tag "pufftique_handmade" on
Instagram if you do make one!
This is a easy to understand video showing the basic supplies and materials for needle felting with a step-to-step simple project to make!
Just one thing, never cut your wool! I forgot to mention it in the video, but when you pull your wool from your sliver don't cut it with a scissor. This will prevent the fiber ends to felt and keep it's natural texture. When I first started needle felting it took me a while to understand what is a 'finished product', I was worried about the fibers because they look very flurry and they are sticking out on the surface. In this video I introduced a 'squeeze test', so if you feel the object is getting tensed up and your felting needle gets hard to poke through, it that means the object is very well felted. That way you don't have to worry about what is a 'finished' needle felting project. However, it depends on your preference, if you prefer to be soft, then you don't have to felt as much. But I find it if I felt it really well I will get less fibres on the surface. Good luck!
Here are more links to my needle felting tutorials~
Felting is one of the oldest fibre crafts, it is a process to create an object made with wool fibres There are two types- one is dry (needle) felting and the other one is wet felting. This video shows the creations I made with dry felting, this process uses a special barbed needle to create friction between the fibres when you use the needle to poke them up and down. This allows the fibres to tangle together and creates a volume. There is no rule to needle felting, however safety is very important and always watch what you are doing.
I used a pun on the word 'felt' for the title of the video, it's both a none and a verb at the same time. I really enjoy felting, It makes me feel relaxed and concentrated, but sometimes I do get very tired when poking them for a long time ^_^!
I love to make these cute stuff!
Felted food inspired by Rio Fukuda! Love her books and creations.
These are the ones I am working on.
So here a video of my collection, enjoy!
Happy crafting, more cute needle felting projects coming soon!
Lisa
Christmas is not even here and I am already looking forward to Valentine's next year. I learnt this from a Chinese Youtube video, the channel has a lot of cute crafts and it is one of my favourite place to go. Here is the first and the second part. Even though some of you might not be able to understand it but I am sure it is very easy to see the process. I absolutely adore these cuties, I made the blue one first and it took me 5 hours, then the pink one only took me 3 hours. I was very tired after making them but it's all worth it!
teh teh teh... ♥ !! (▰˘◡˘▰)
ahhh, cute!
awwwww sooo romantic hahaha, I can imagine this starry night scene. Their backs are just as cute as the front, especially those little tails.ヾ(●⌒∇⌒●)ノ (wiggle wiggle~)
More cute crafts coming soon! I am already sketching some ideas for Christmas.
Halloween is nearly here! These mini pumpkins are so easy and fun to make, they took about twenty to thirty mins each! This is a very simple tutorial, try it out!
So let's start making these!
You will only need 2 colours, you can use more wool if you want to make a big pumpkin.
Gently stab the end to make a loose ball. Do not stab all the way in.
Do a cross line to identify the shape.
After that draw a line between each space of the cross to create 8 segments.
Remember to shape the side as well.
Make the top flat for the pumpkin stem.
Roll a small amount of green wool between your fingers and stab to firm the top. Leave the bottom loose so we can attach it to our cutie pumpkin.
Add the leaves just the same way as the stem. And now it's done!
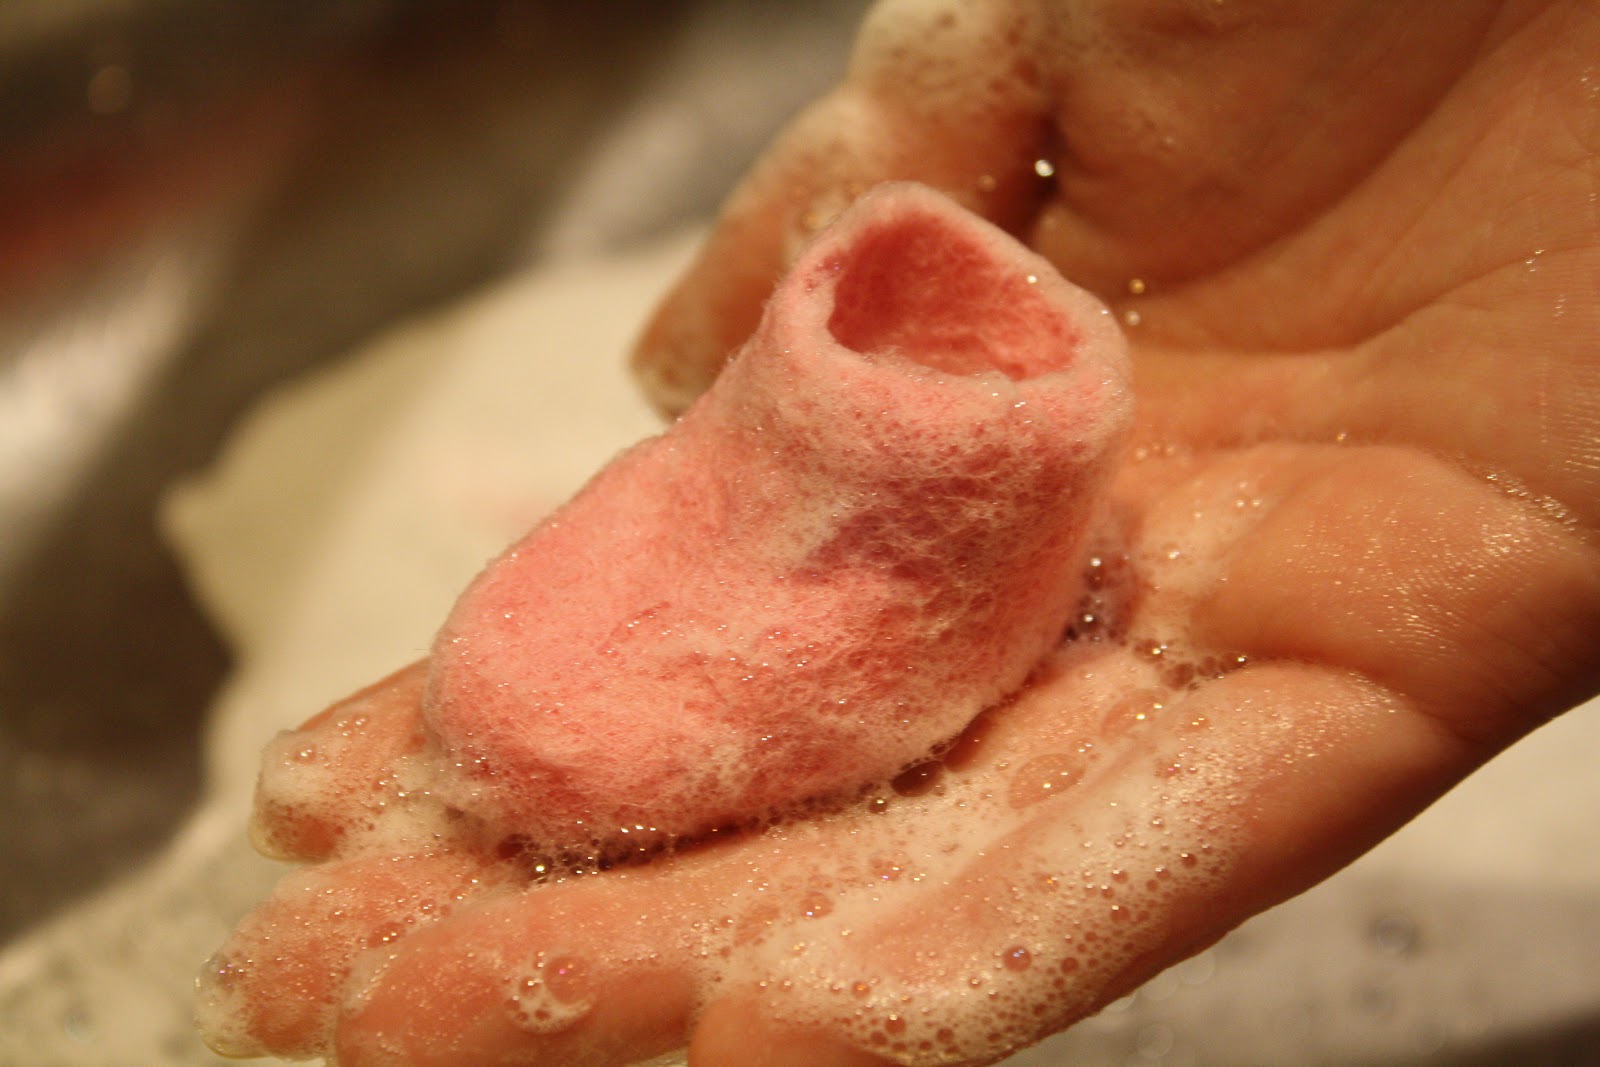
I have always wanted to make baby shoes, while I was looking through the book "Quick & Clever Felting" by Ellen Kharade it has a tutorial on a baby boot. I suddenly got really excited and flip to the back of the book to search for the template. I didn't make it according to the original size, I just used the template just as it is incase I didn't mess up and waste a lot of materials. I would never thought that it turned out to be a cute little finger bootie, the shape has shrunk so much after wet felting and it fits perfectly for your fingers to wear! Another cute craft that I have discovered!
la la la~ so cute and pink, walking on my finger bootie~
I would want a real one of these.
So here are my working processes/ tutorial, if you are interested please get the book and it will have the template for a real size baby bootie :D! Full credit goes to Ellen Kharade for the template. Please excuses the photos, I dislike taking photos at night but I am only free at this time. I like to take my photos during the day because it gives true colours and it's more clear and sharp ( in other words, I am not a good night photographer. )
This is the page I saw and I told myself that I have to make it!
I used baking paper as a template but I highly suggest you use plastic sheet rather than paper.
You will be using 4g of wool.
I used 2g for each boot, therefore 1g for each side.
Add the fiber layers horizontally and vertically to make sure it's even and spray with soap water.
Flip to the back and repeat the last step. Fold in the excess fibre around the template.
Both layers are done, spray more soap water.
Rub it between your palms, the shape will shrink. When you can't pull off any fibre on the surface it is ready for the next step. The fibre now becomes felt.
Cut it in half! Looks so cute just by this.
Gently pull out the template and sculpt the shape.
Back to the sink, keep rubbing with your finger on the surface to sculpt the shape.
Also run it with warm-hot water so the fibre will shrink and tighten.
Always have soap when you are rubbing, add more if its gone.
When you think you have the shape wash it with warm-hot water and rinse off the soap.
This is what happened to my fingers after soaking in bubbles for 2 hours.
And then the next day my hands felt really dry. T_T
I needle felted some parts to make the surface more smooth.
You can skip this if you think it's fine after the wet felting process.
tada! here it is, super cute finger bootie!!
I made a red one on the other day, it's super fun, but also very time consuming. Might turn the red one into Christmas boots and i'm going make more booties when my holiday comes!
Needle felting is also a therapy. It allows a person to take part in a creative activity which involves concentration and patience to bring calm to themselves. I have read articles about people with diseases and problems taking part in this art as an individual or as a group, and they have discovered and expressed their inner-selves to create a piece of art that is very personal.
The cake is topped with strawberries, mango, a heart cookie and cream.
I wasn't feeling really positive these days because of the work load from uni, so I made this little swiss roll to release my stress. It was really hard to make because of the small scale and I didn't want to poke myself when making small pieces like the strawberries. However, it was a good first attempt, and I am really happy with the final result. I might make more of these, like different flavours and colours!
Cute little cell phone strap for your phone~
One thing I noticed from these photos is that the cake looks very fluffy, not sure if that's a good thing or a bad thing. Oh well, it's cute anyways! ^_^ Halloween is coming up real soon, I wish I can make something for that too.
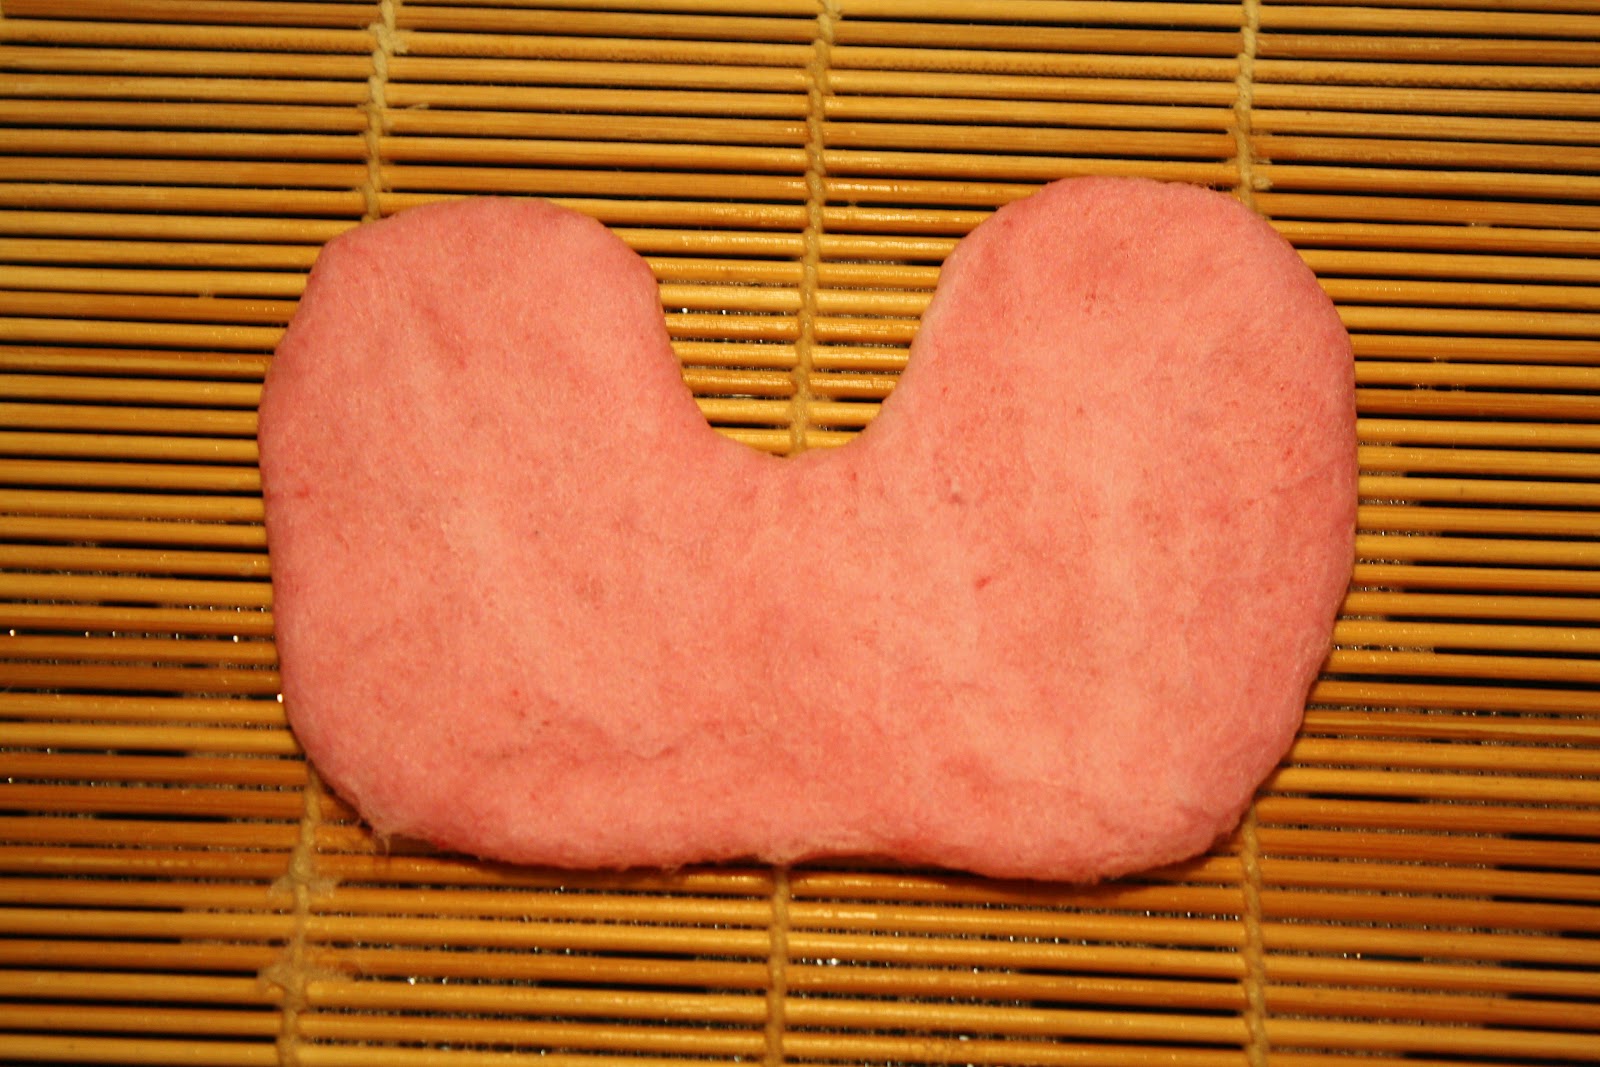
I fell in love with Japanese dango when I had it for the first time. It's basically some sticky rice ball mochi thing, but it was so soft and sweet. I wanted to use the colours I dyed last time, so I chose to make Hanami dango which has 3 lovely pastel colours. Instead of round shapes, I made it into cute hearts.
It is very easy to make, it involves basic needle felting tools and a heart cookie cutter. The photos below will demonstrate the processes.
So here are the materials and a heart shape cookie cutter.
Separate the fibers and fill in the cookie cutter to the top.
Stab the wool until it gives a surface, and then flip to the back and do the same thing.
Take the heart out.
This time stab around the edges to give it a curve surface.
And here are the 3 finished hearts.
After all this you can use a skewer and poke through the hearts. And now it's done!
I have always wondering about this needle felting technique, but never got a chance to get my hands on it. After I bought a small kit from the store I got really addicted to this traditional craft. Not sure it if was the way you continuously stabbed the wool with your anger or the sound it made when you stabbed it that got into me. I am so obsessed with needle felting that I decided to buy nearly 1kg of wool and dye my own colours.
I love the rainbow colours! This basket was given to me on my birthday and I kept my friend's design logo up there, it made it even more special.
I even made some of my favourite pastel colours, they just look so sweet and soft. Even though my processes of dying these wasn't as smooth as I thought but there are always a chance to improve. I was really hoping that the shape of the wool sliver would come out as smooth as the original form, instead it was really messy and fibers flying everywhere! I will just have to keep trying.
Hello! I'm Lisa, this is a blog dedicated to my love for cute stuff, food and crafts. I want to share discoveries, techniques, and inspirations of this cute world I am creating.